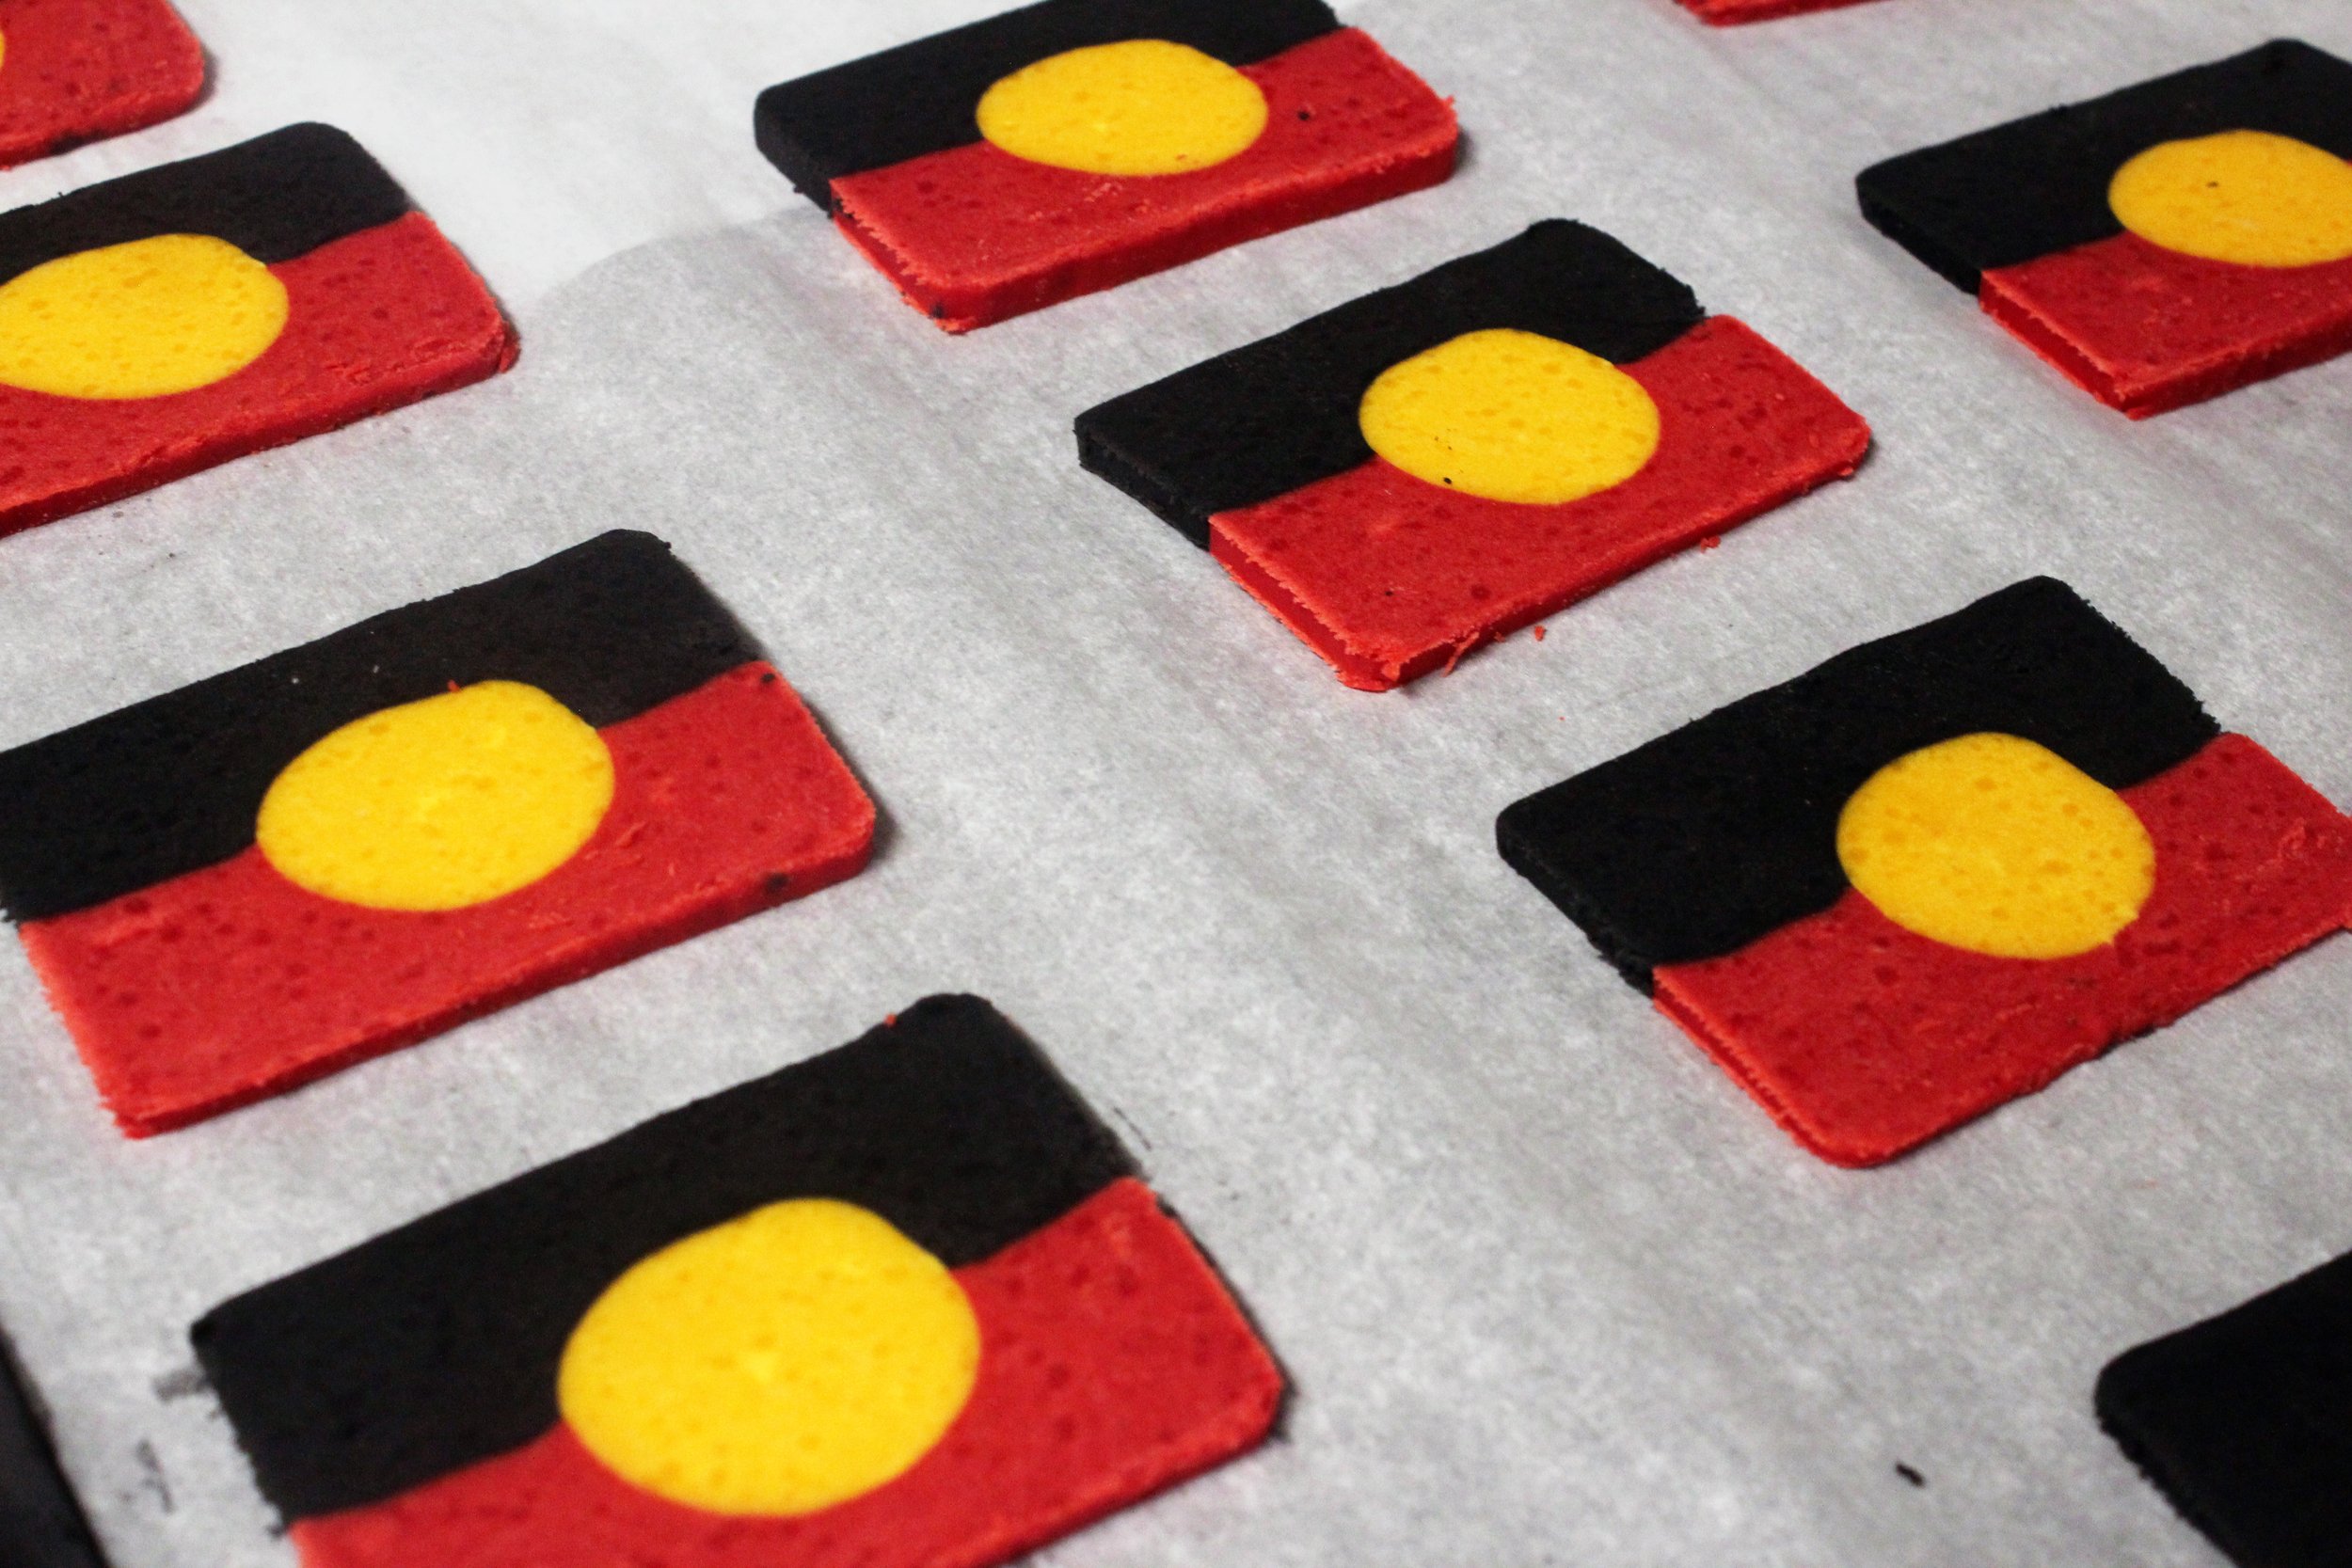
Where We Bake began with the Aboriginal Flag Biscuits. We encourage you to bake them and use them to raise funds in your community.
First things first:
You will need to do some research to find an appropriate charity, organisation or group to raise funds for and get in touch with them.
Let them know what you’d like to do and why, ask permission and check if they have any requirements for you to be fundraising on their behalf. They will likely require documentation of your sales etc to ensure that everything is above board.
We charge $4.50 per biscuit and choose to donate 100% of the sales price less GST but that decision is completely up to you, just be sure to communicate it clearly to your customers and the people for whom you are raising funds.
Once that’s all sorted you can bake to your hearts content and start making a difference.
The Recipe
We have included two recipe sizes here, one for the home baker making one log at a time, another for a bakery making 6 logs at a time.
Each log makes approximately 24 biscuits.
Home Recipe
(single log)
400g unsalted butter
200g icing sugar
1/2 tsp salt
600g plain flour
red, yellow and black food dyes, oil based will work best. we use Color Mill.
Bakery Recipe
(six logs)
2400g unsalted butter
1200g icing sugar
24g salt
3600g plain flour
red, yellow and black food dyes, oil based will work best. we use Color Mill.
-

Step 1.
Add flour, butter, sugar and salt to a stand mixer bowl. This can all be done by hand but it will be super important to make sure your butter is at room temp or it’ll be very difficult to mix.
-

Step 2.
Beat on a slow speed until the mix resembles breadcrumbs and no dry ingredients remain
-

Step 3.
Now you can speed things up without flour flying everywhere, until you have a nice even dough.
-

Step 4.
Divide your dough into three parts. If you’re making the single batch you should have:
1 x 230g
2 x 460g
The 6 x batch will have roughly:
1 x 1400g
2 x 2800g -

Step 5.
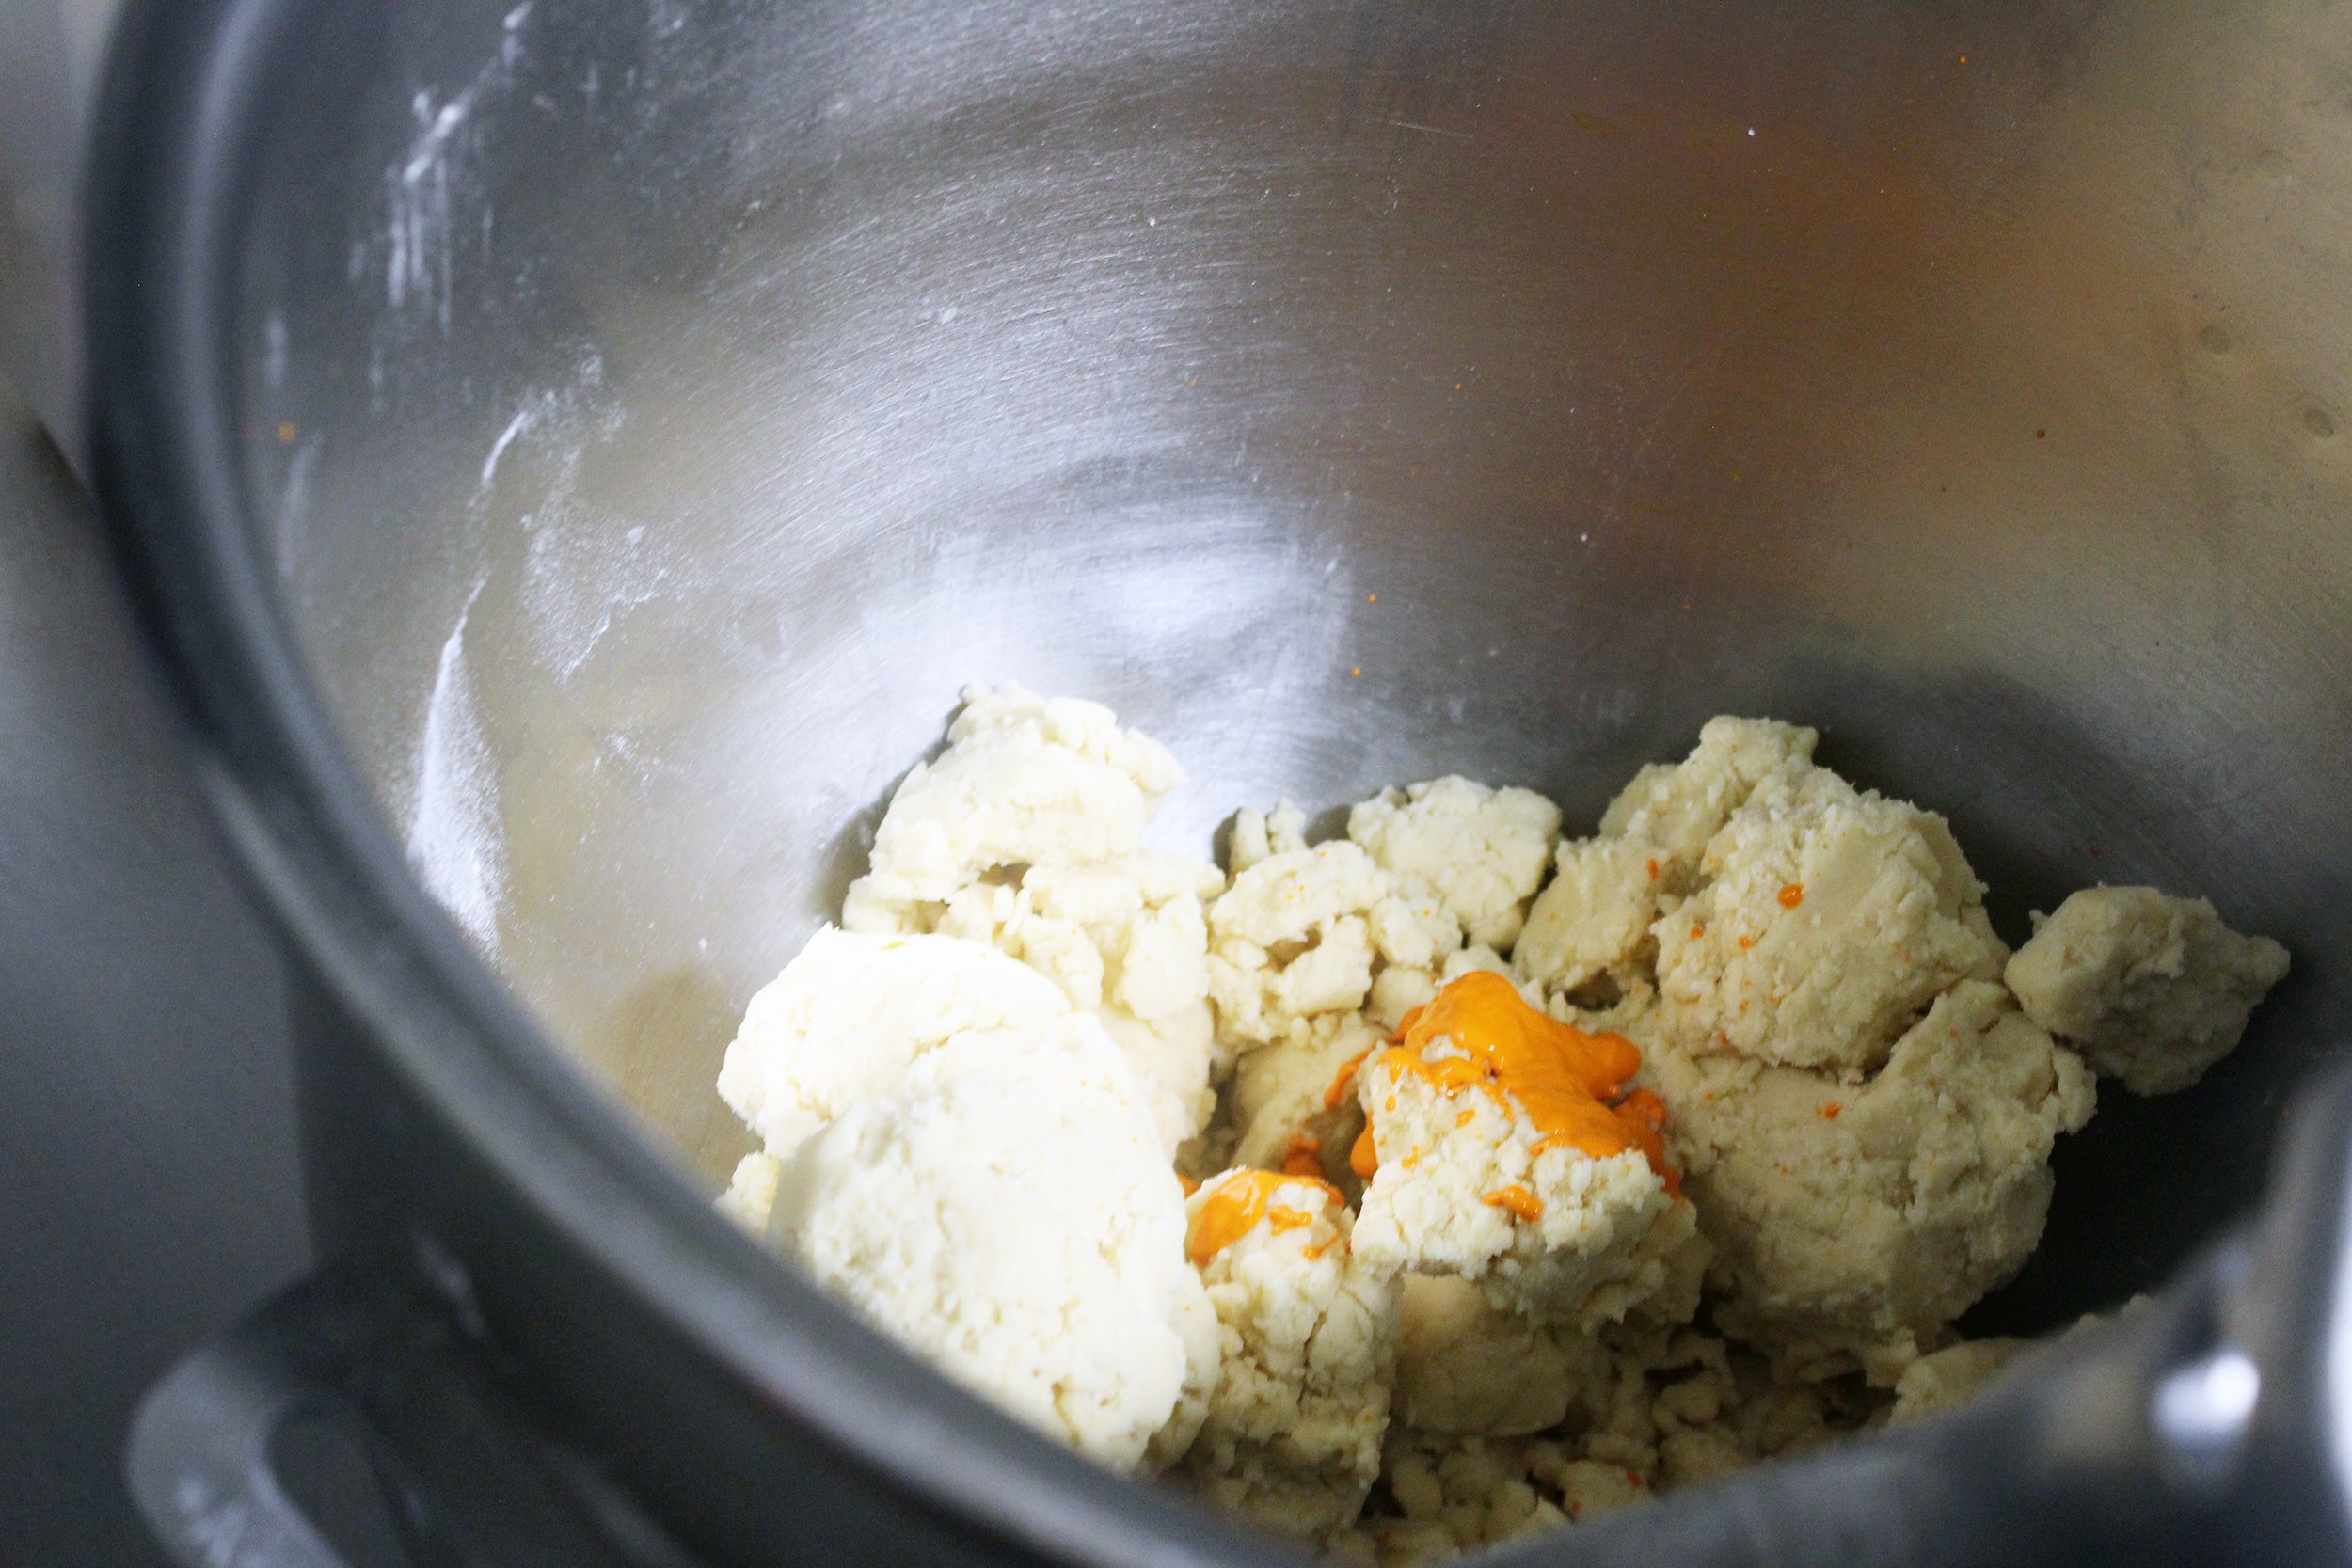
Put the smaller dough back into the mixer bowl and add yellow food colour. The amount of colour will depend on what brand you’re using, so add gradually until you have a rich golden yellow and mix thoroughly
-

Step 6.
Your yellow dough should look more or less like this.
Repeat with one of the larger doughs, adding red food colour, and then with the final dough, adding the black.
-

Step 7.
Your doughs should now be brightly coloured and pliable.
-

Step 8.
If you’ve made the 6 x batch divide each colour into 6 equal portions.
If you made the single batch you can skip this step.
-

Step 9.
If you’re using the tins use these as a guide to roll your yellow piece(s) into even logs. Ensure your ends are flat so that they can be easily slipped into the tins once firm.
If you don’t have the tins you can use a ruler to measure approximately 30cm logs.
-

Step 10.
Your pieces should all look like this, pop your tray of yellow logs into the freezer for 30-45 mins or until very firm.
-

Step 11.
If you have tins now is the time to prepare them. Spray with canola oil or similar and line each with a sheet of baking paper, it need only over the long sides and base as the canola oil will help the dough slip out after setting
-

Step 12.
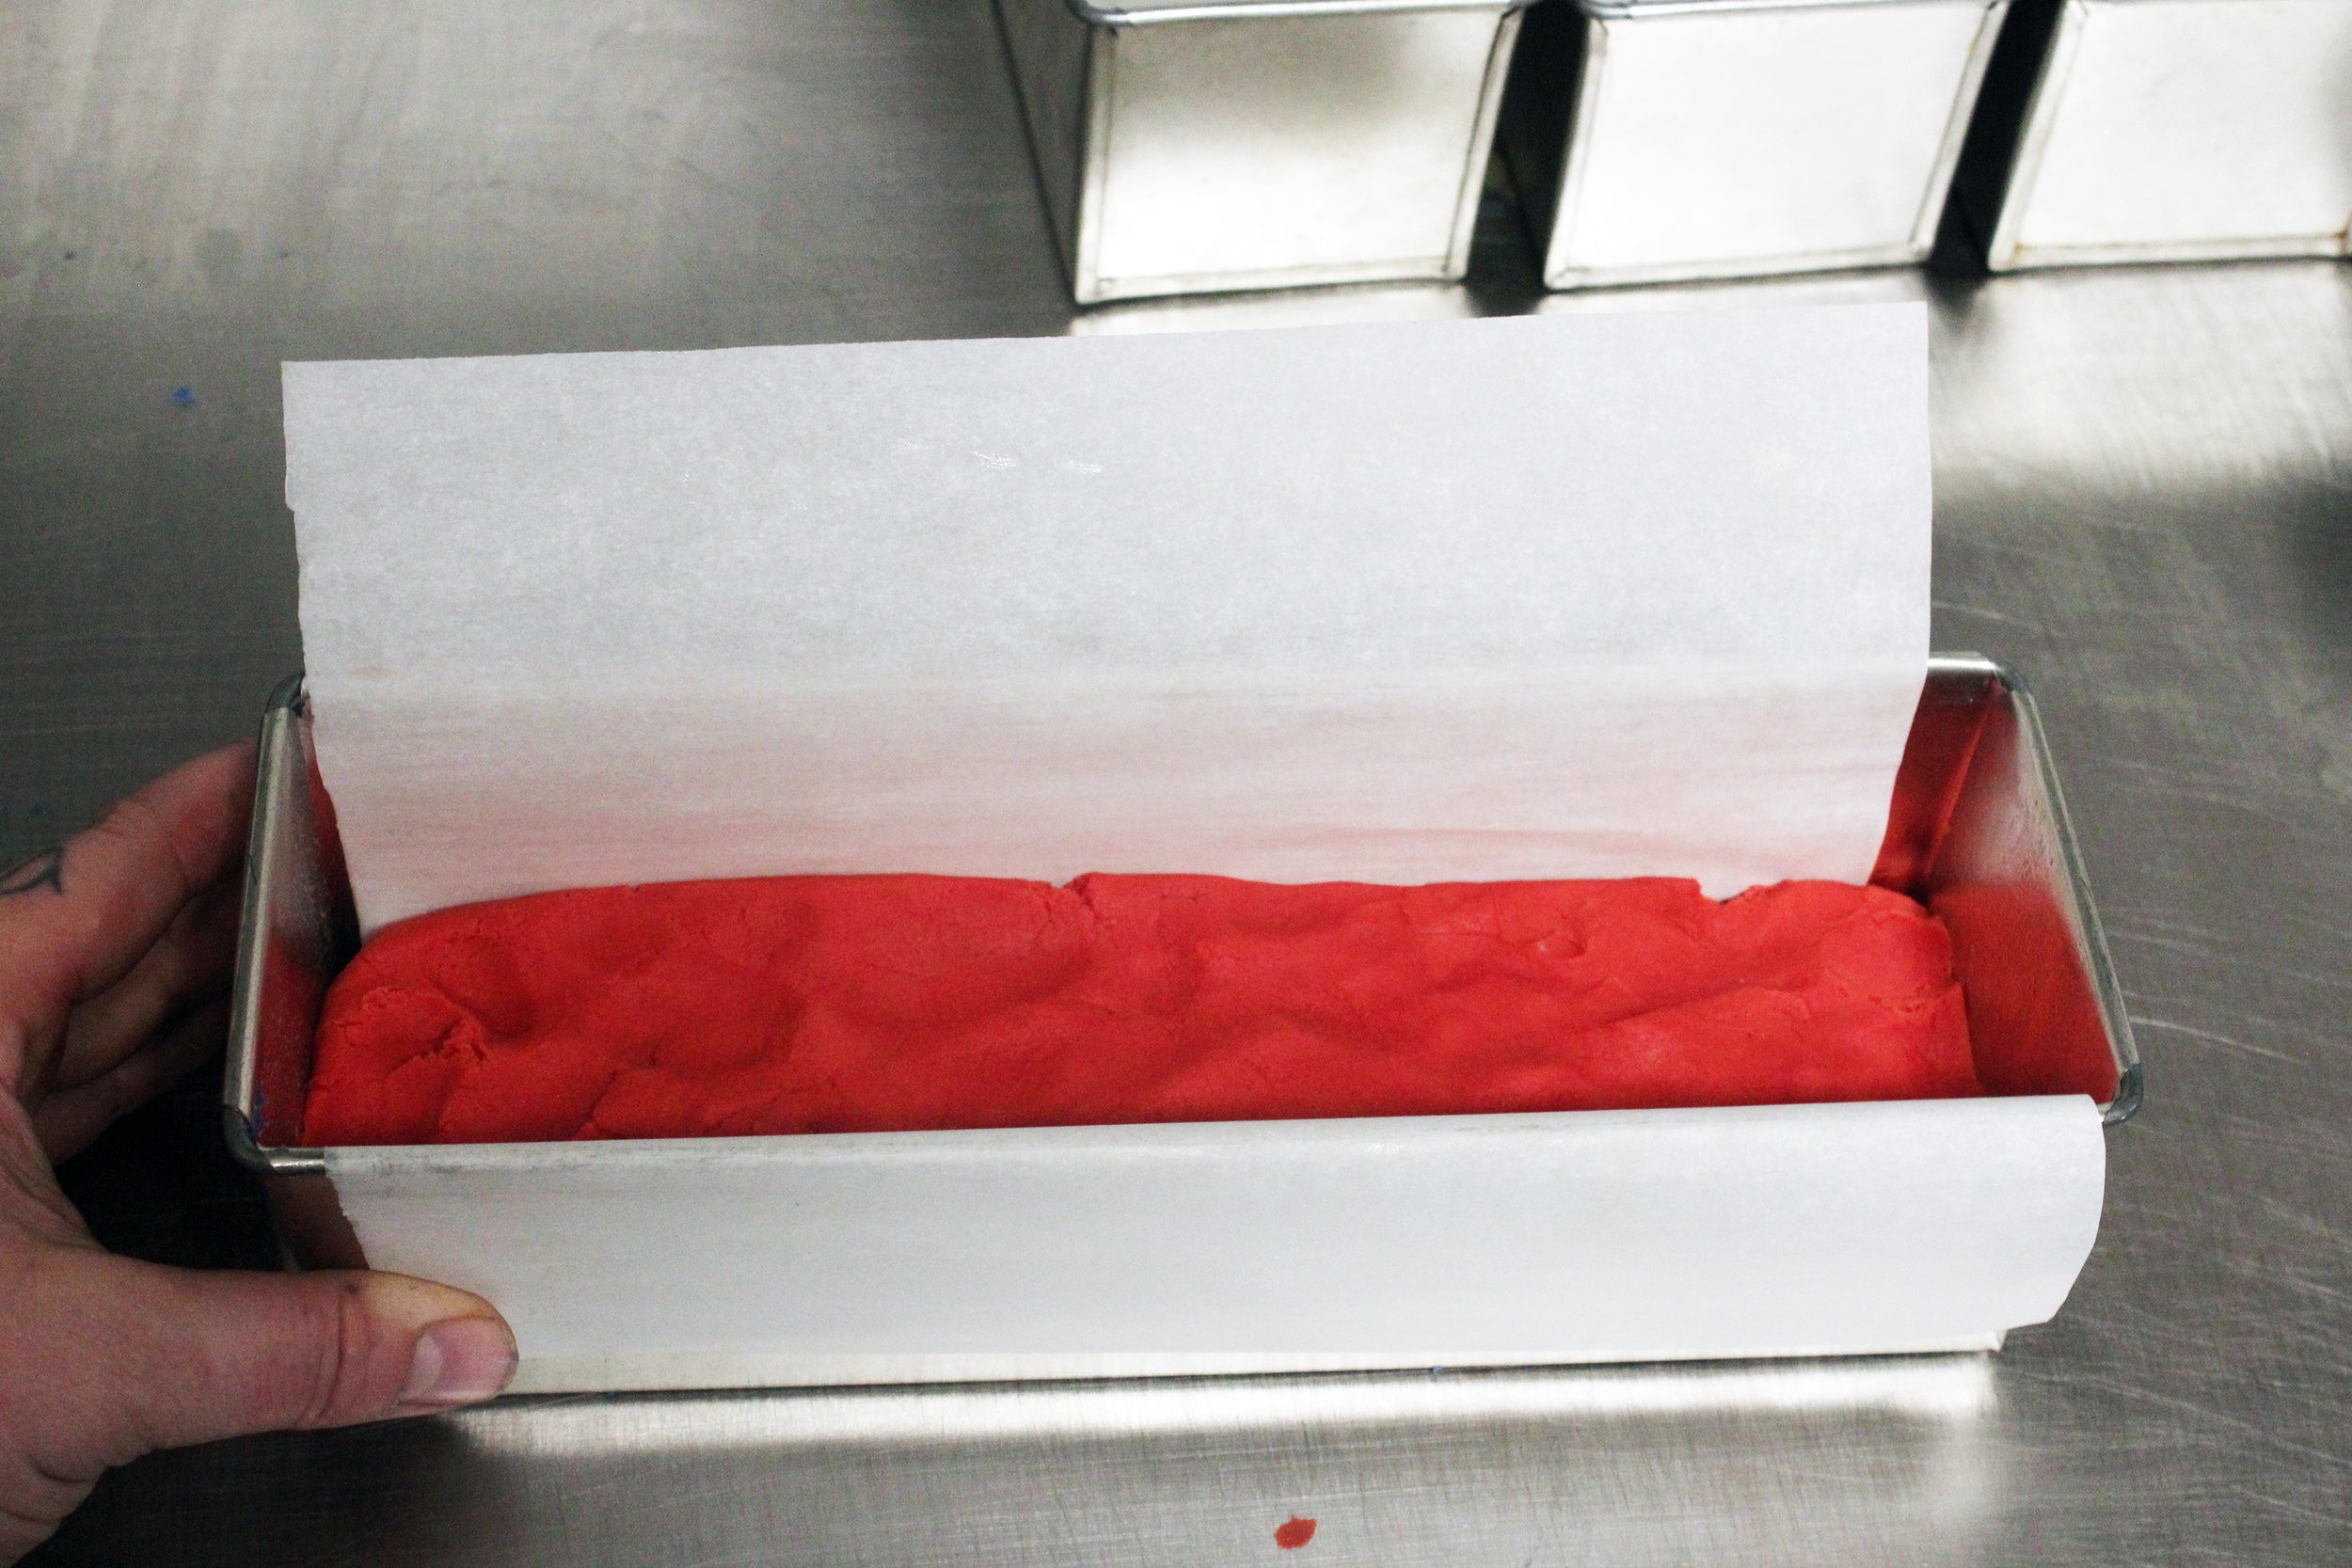
Press your red piece into long flat logs the same length as your yellow logs. Use the tins as a guide if you have them.
-

Step 13.
Place the red pieces into the tins and press it out as evenly as you can.
If you are not using tins you can approximate this by hand.
-

Step 14.
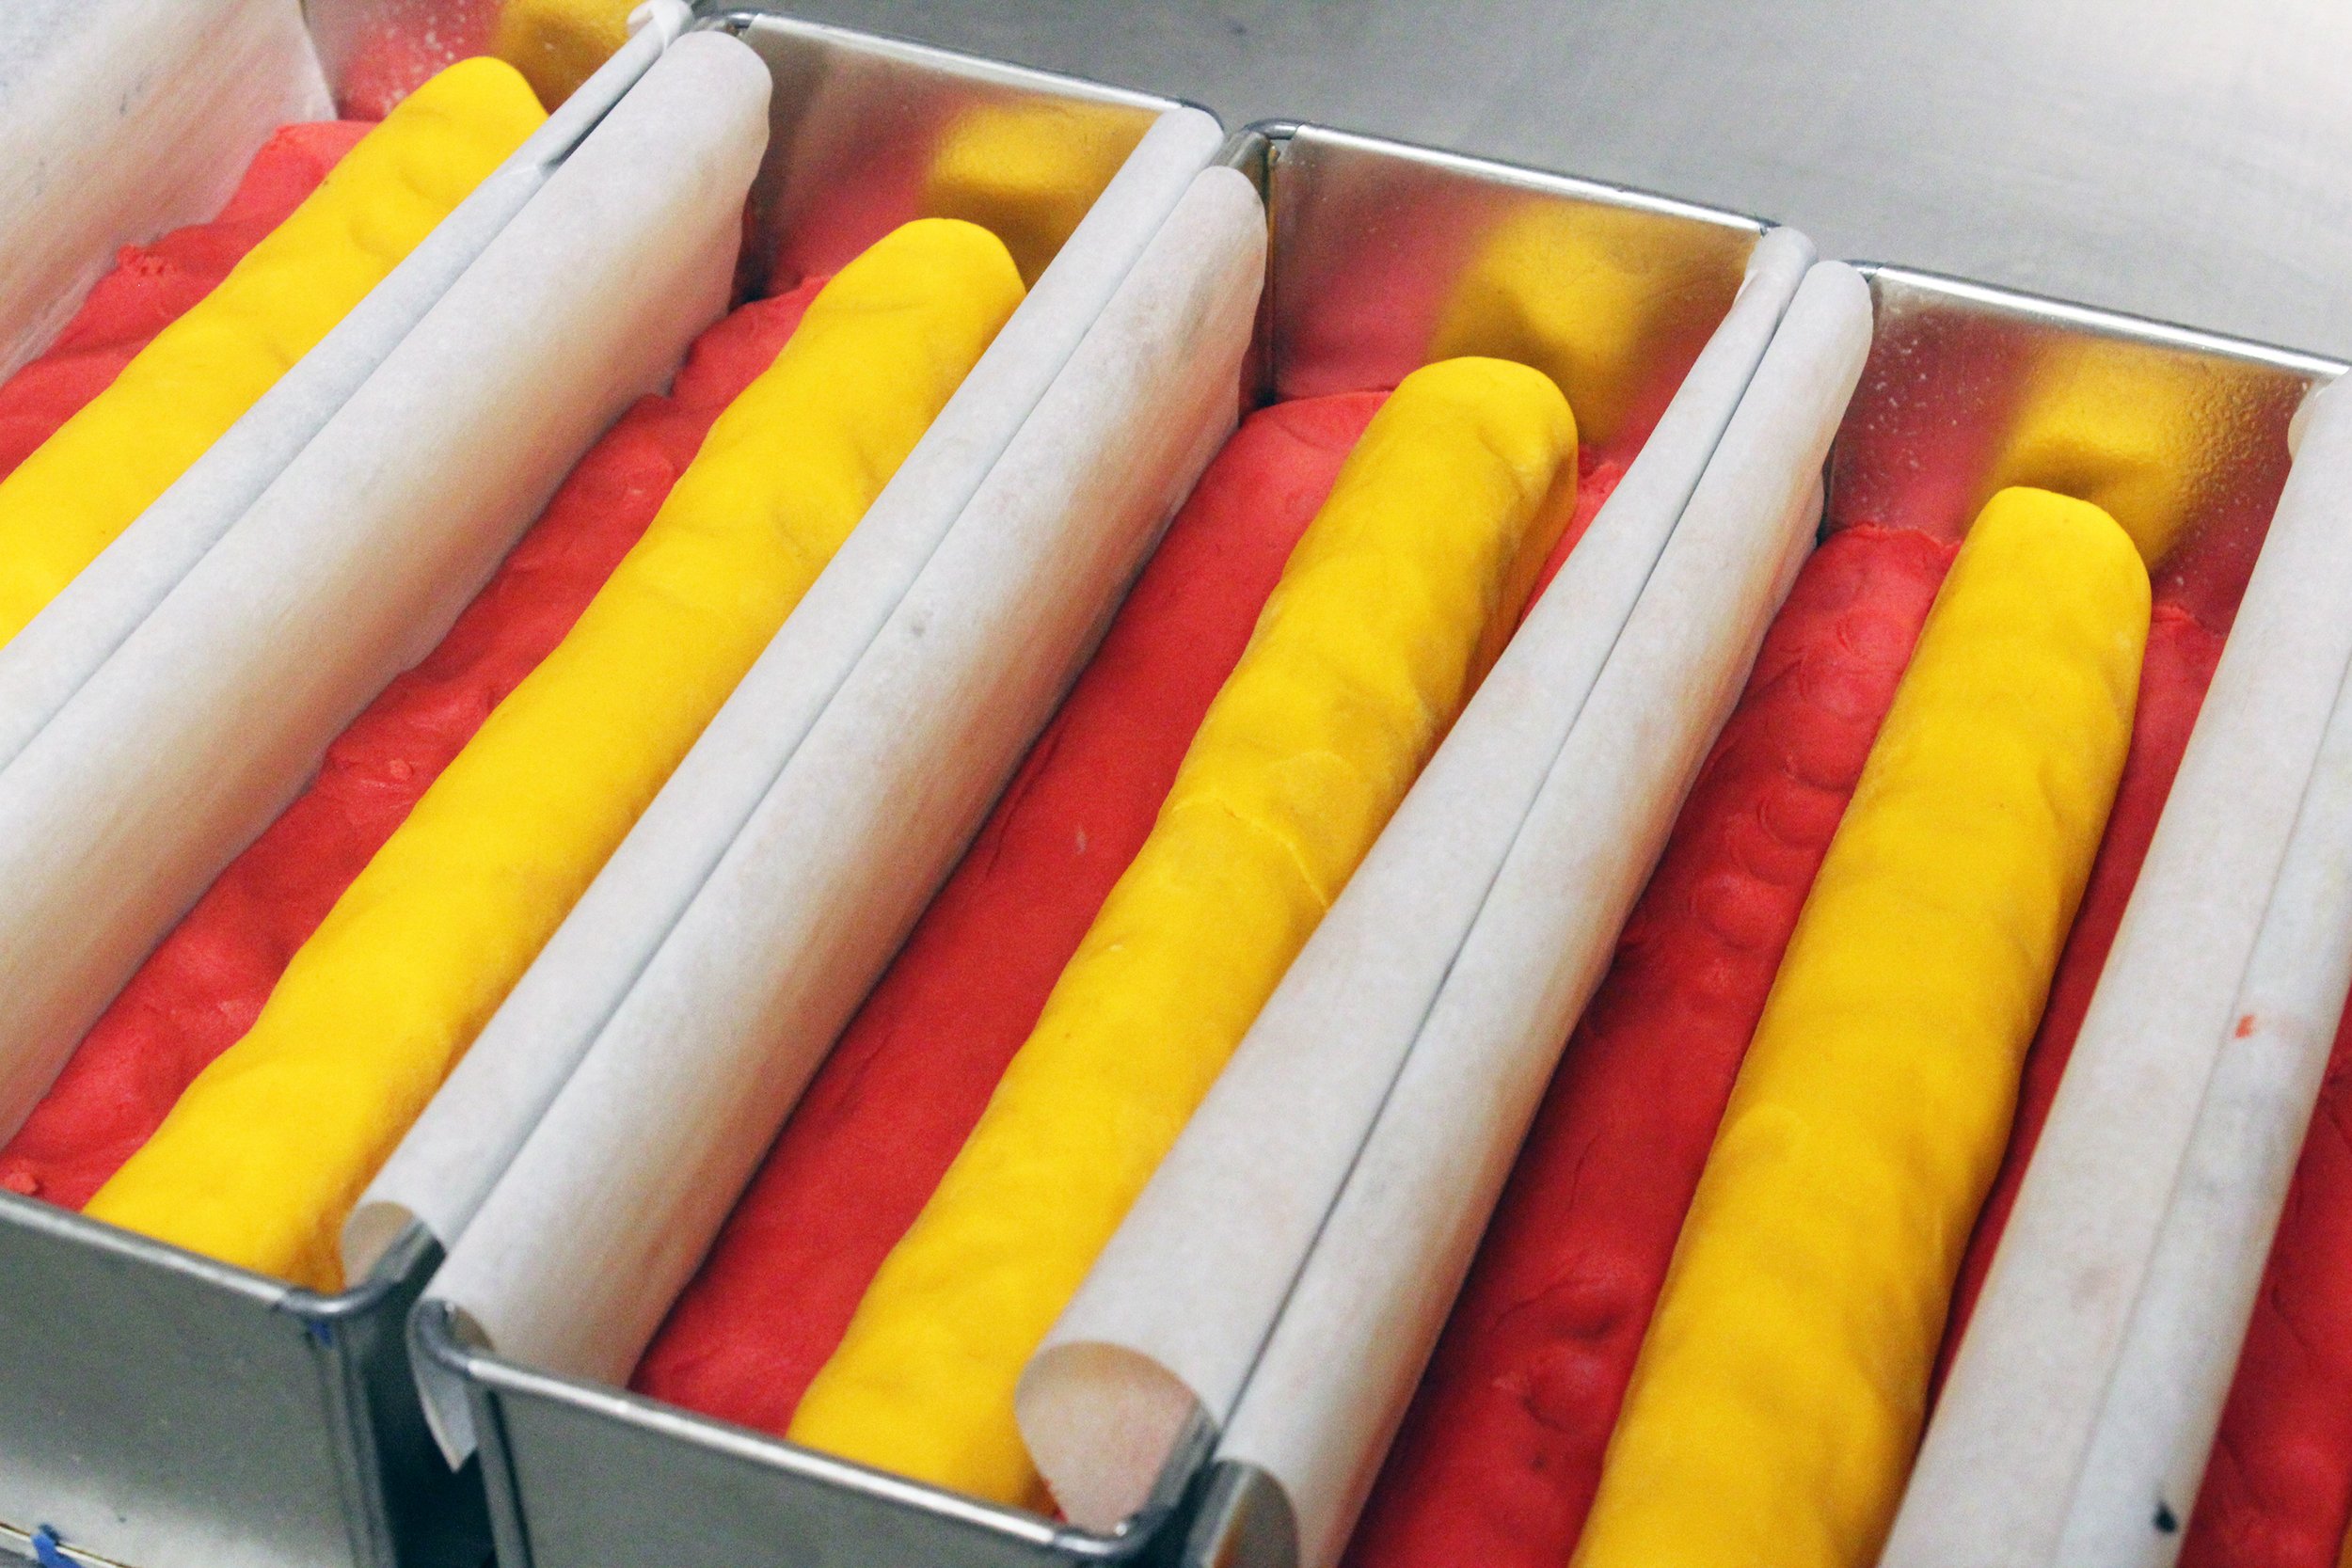
When your yellow logs are very, very firm press them into the red dough. You are aiming to submerge the yellow half way to ensure that it is in the centre of the flags in the final biscuits.
-

Step 15.
Shape the black pieces as you did the red, then press them firmly over the yellow, tig the paper on either side of the tin to make sure it’s not caught between the layers, and pull the paper over the dough to flatten the edges properly.
Refrigerate overnight before slicing.
-

Step 16.
Preheat your oven to 150C for 30 mins.
Remove a log from the tin and slice into pieces roughly 5-6mm thick and place on a baking tray with a little room to spread.
Bake for 30-35mins of until baked through but not browned.
-

Step 17.
Description goes hereOnce cooled store carefully in an airtight container with paper between each layer to stop the colours smudging. They will last for up to a month.